Tag: Storage

  • Moving House Without a Mountain of Waste: A Smarter, Reusable Packing System for Renters

    Moving House Without a Mountain of Waste: A Smarter, Reusable Packing System for Renters

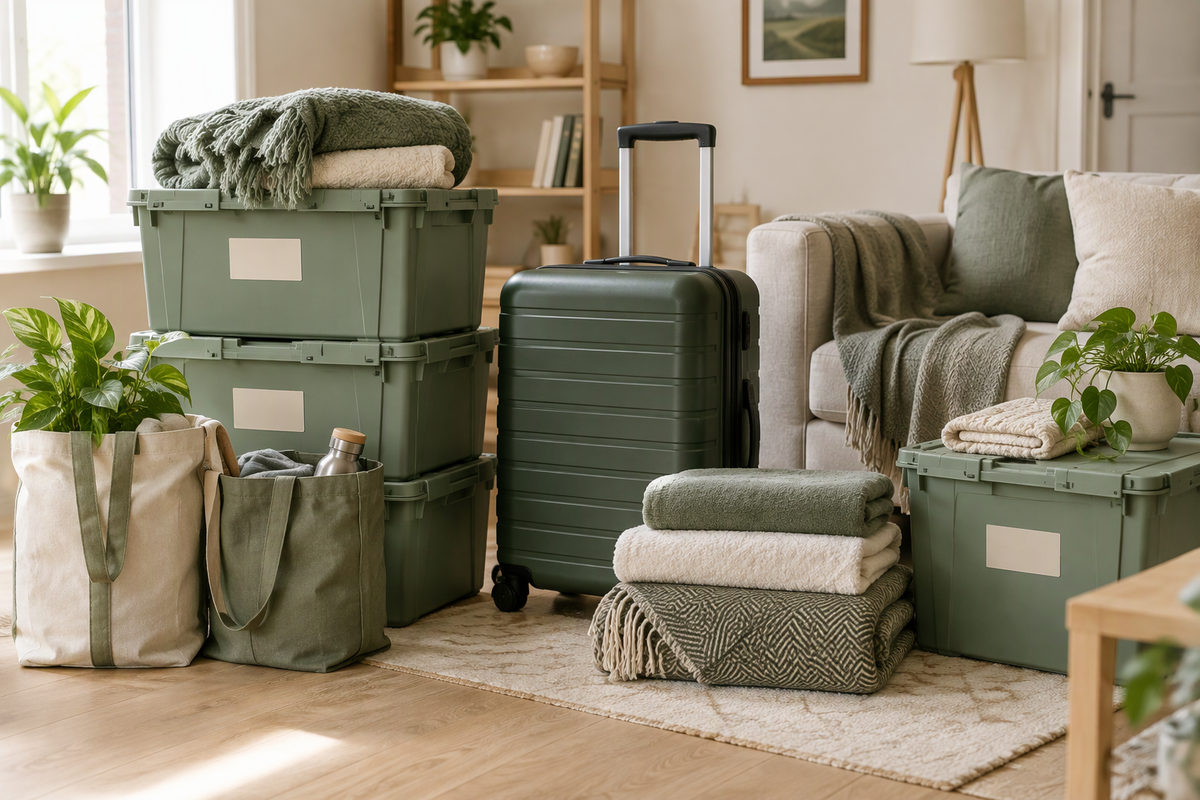
    Moving house should not mean filling your rubbish bin. Cardboard boxes, plastic wrapping, disposable tape and protective packaging are often purchased for a single day of use, but a more thoughtful approach is possible.

    With planning, many containers and protective materials already in your home can become part of a reusable moving system.

    1. Start with a container inventory

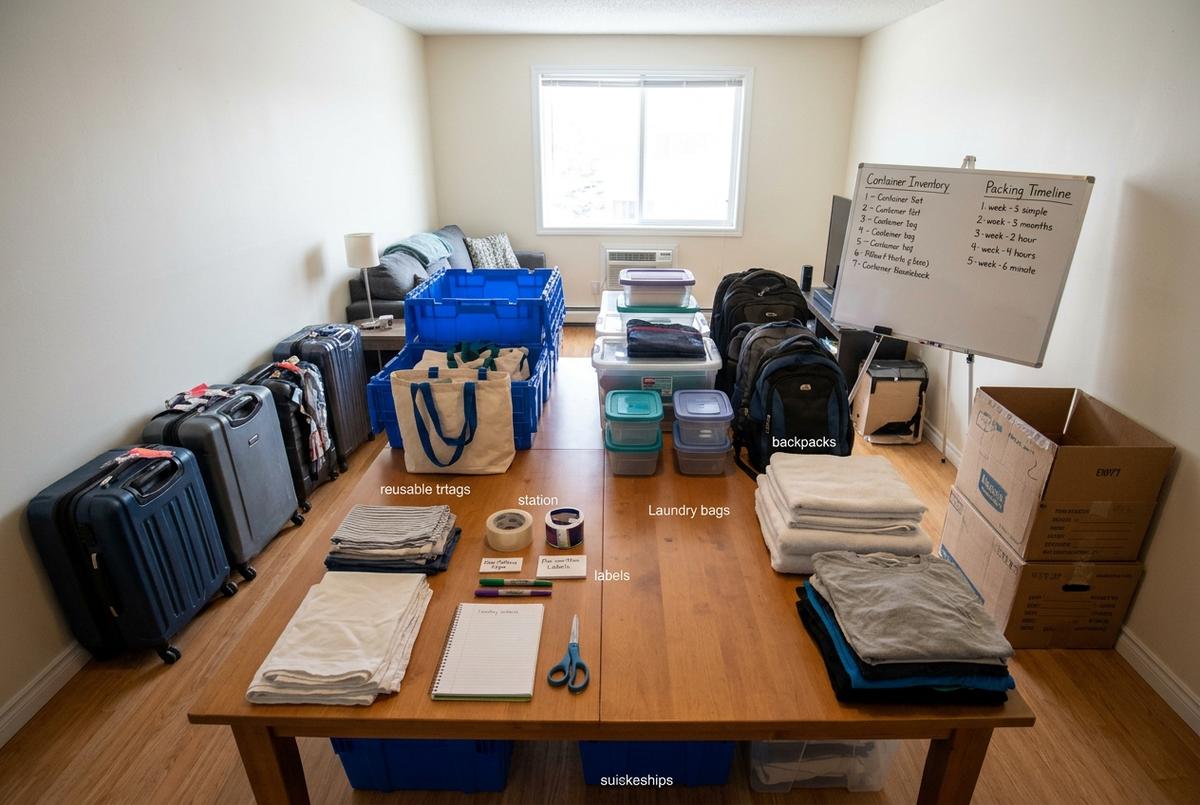
    Before ordering supplies, count your suitcases, reusable shopping bags, strong laundry bags, lidded containers, existing boxes, storage crates and durable backpacks. Assign each container a purpose and do not use weak or damaged containers for heavy items.

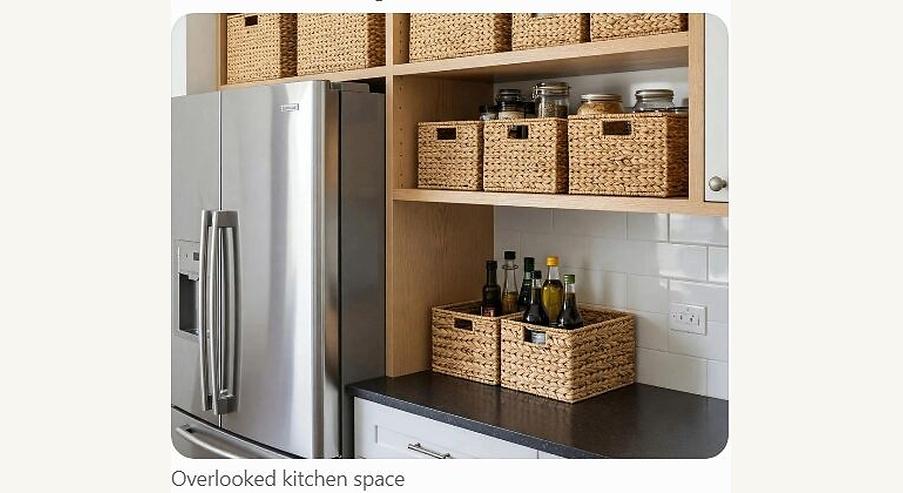
    Look at storage you already use throughout the home, including shelves beneath stairs and other overlooked areas. Knowing where your existing containers live makes it easier to pack without buying duplicates.

    2. Let household textiles do some protective work

    Clean towels, pillowcases, sheets and suitable clothing can protect ordinary household belongings. Use appropriate specialist protection for delicate glassware, valuable electronics and fragile equipment.

    Keep bedding and other soft goods accessible until the final stage of the move. They can protect belongings during transport and remain useful as soon as you arrive.
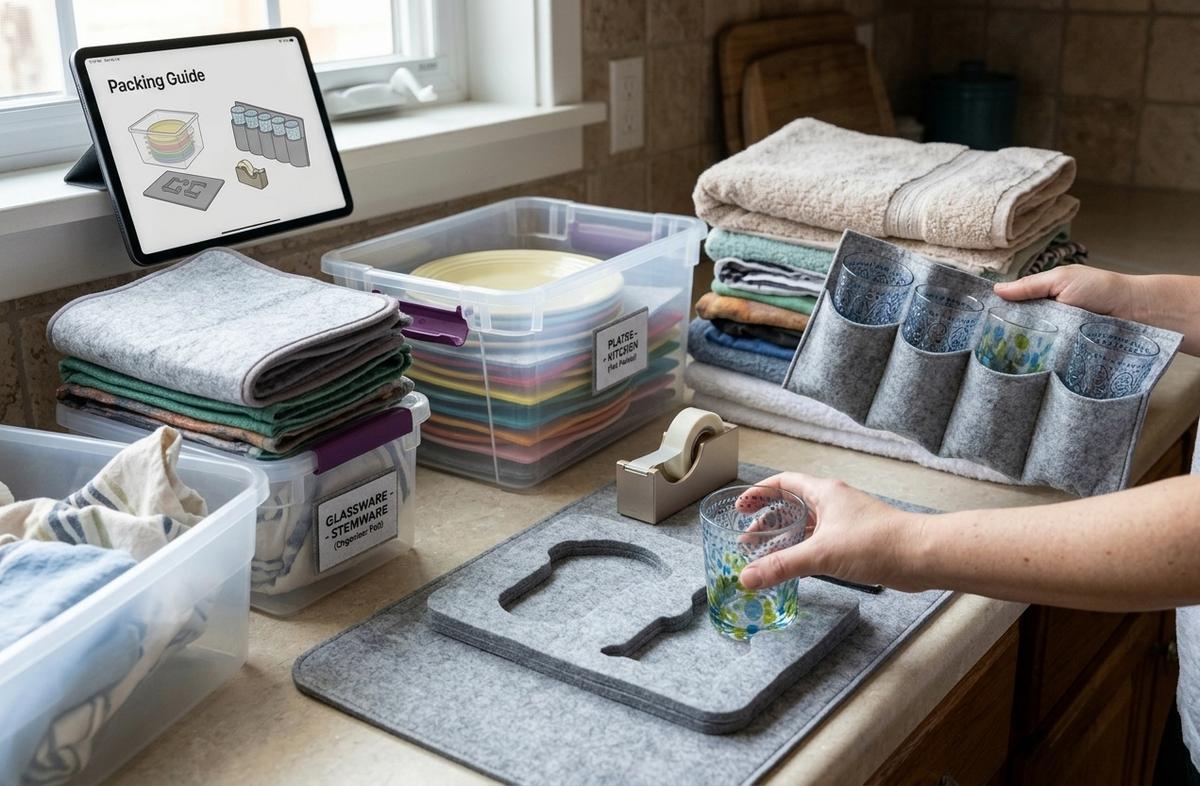
    3. Create a reusable packing-material station

    Keep reusable containers, tape, labels, markers, protective materials, scissors and an inventory notebook together. A single station prevents unnecessary purchases and reduces searching.

    A kitchen island, sideboard or other open surface can serve as a temporary packing station. Choose a place with enough room to work, but keep food preparation areas clean and separate from packing materials.
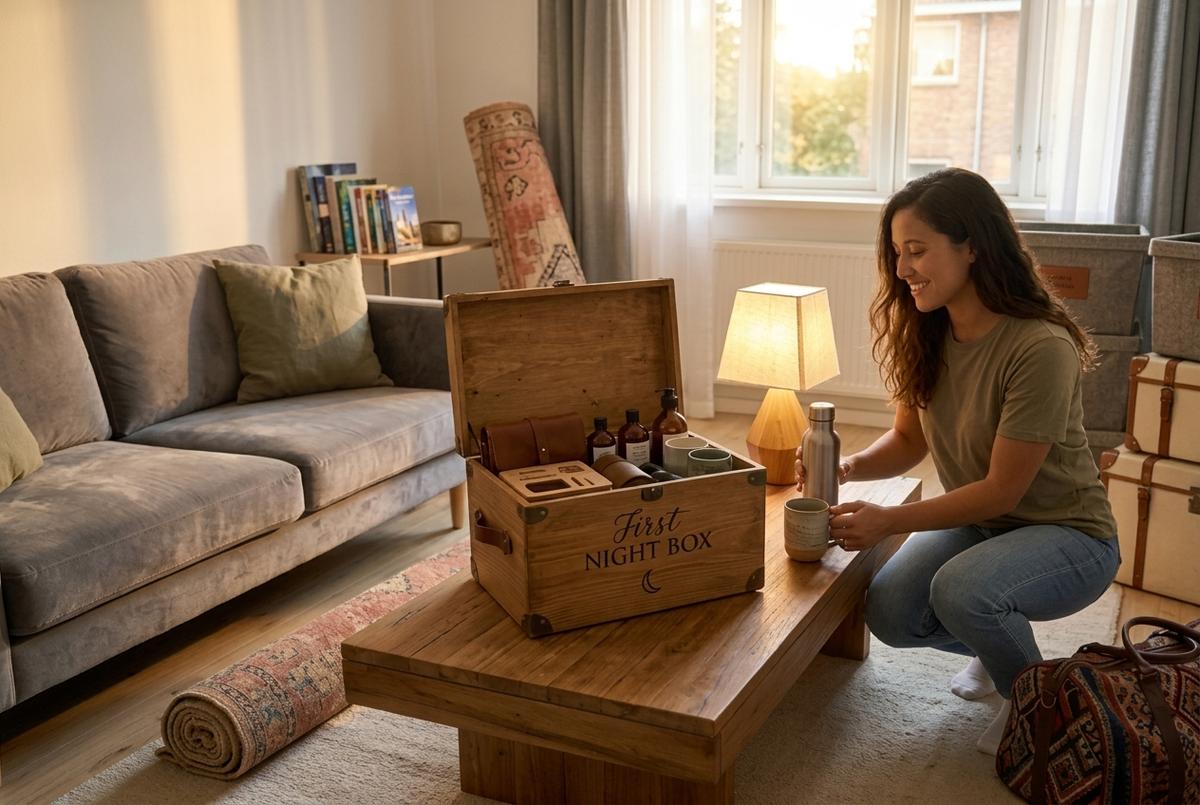
    4. Pack a first-night container

    Include toiletries, chargers, basic cleaning supplies, towels, a change of clothing, reusable cups, essential kitchen items and important documents kept separately and securely.

    Pack this container last, label it clearly and keep it accessible rather than burying it in the moving vehicle.
    5. Use a room-to-room packing map

    Give containers simple codes such as K1 for kitchen essentials or B1 for bedroom essentials, then record what each code contains. Avoid writing sensitive information or descriptions of valuable items on boxes visible to strangers.

    6. Sort items before they travel

    Use four categories: keep, repair, rehome, and recycle or dispose responsibly. Check receiving organisations’ requirements before donating, and do not treat donation centres as destinations for damaged or unusable goods.

    7. Plan the return journey

    Arrange the return of borrowed containers, identify where owned crates will live, and follow collection instructions for rented crates. Reusable products only deliver benefits when they are used repeatedly.

    8. Make unpacking part of the plan

    Unpack by priority, keep reusable materials together, return borrowed containers and separate materials according to local recycling requirements.

    Reusable moving checklist

    • Inventory existing bags, boxes and suitcases.
    • Identify items for repair, donation or recycling.
    • Prepare a packing station.
    • Gather clean household textiles.
    • Prepare first-night essentials.
    • Label containers clearly.
    • Arrange reusable-container returns.

    Frequently asked questions

    How can I move without buying cardboard boxes?

    Use suitable suitcases, strong bags, reusable containers and borrowed crates. You may still need additional packaging for fragile or heavy belongings.

    What can I use instead of bubble wrap?

    Clean towels, sheets and suitable clothing can protect ordinary household items. Delicate items may require specialist protective packaging.

    What should I unpack first?

    Prioritise bedding, toiletries, basic kitchen supplies, cleaning equipment, chargers and essential personal items.

    Moving house is an opportunity to decide not only what comes with you, but also how you want to live in your next space. Planning can make the move less chaotic, reduce spending and prevent useful materials becoming single-use waste.
  • The No-Buy Home Reset: How to Organize Your House Using Things You Already Own

    The No-Buy Home Reset: How to Organize Your House Using Things You Already Own

    What if your next home makeover cost absolutely nothing? A drawer becomes difficult to use and we look for dividers. A cupboard becomes crowded and we search for matching containers. But most households already own items that could solve a problem somewhere else.

    An unused suitcase, sturdy box, glass jar, old pillowcase or fabric bag might have a second job. The no-buy home reset is not about doing without. It is about becoming more resourceful with what you already have.

    Step 1: Start with a household inventory

    Choose one room and identify items that are used regularly, useful but stored in the wrong place, forgotten or duplicated. This is a redistribution exercise, not a shopping exercise.

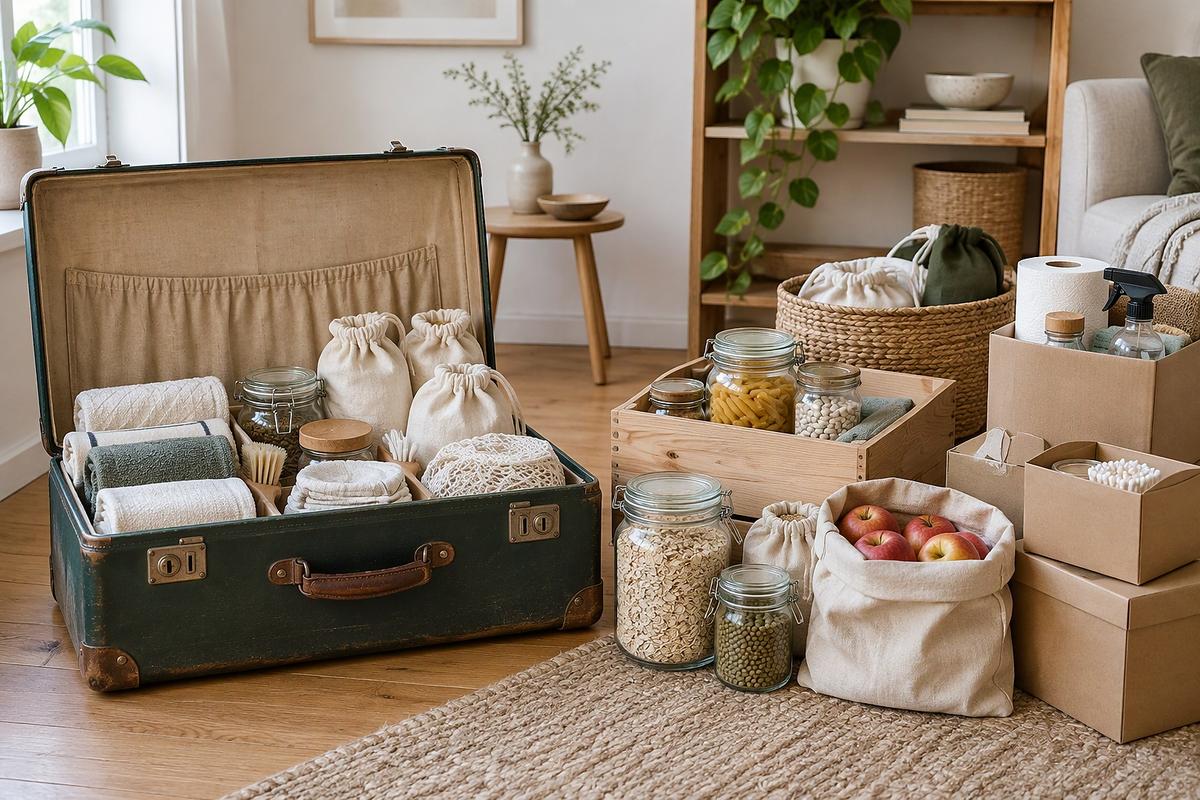
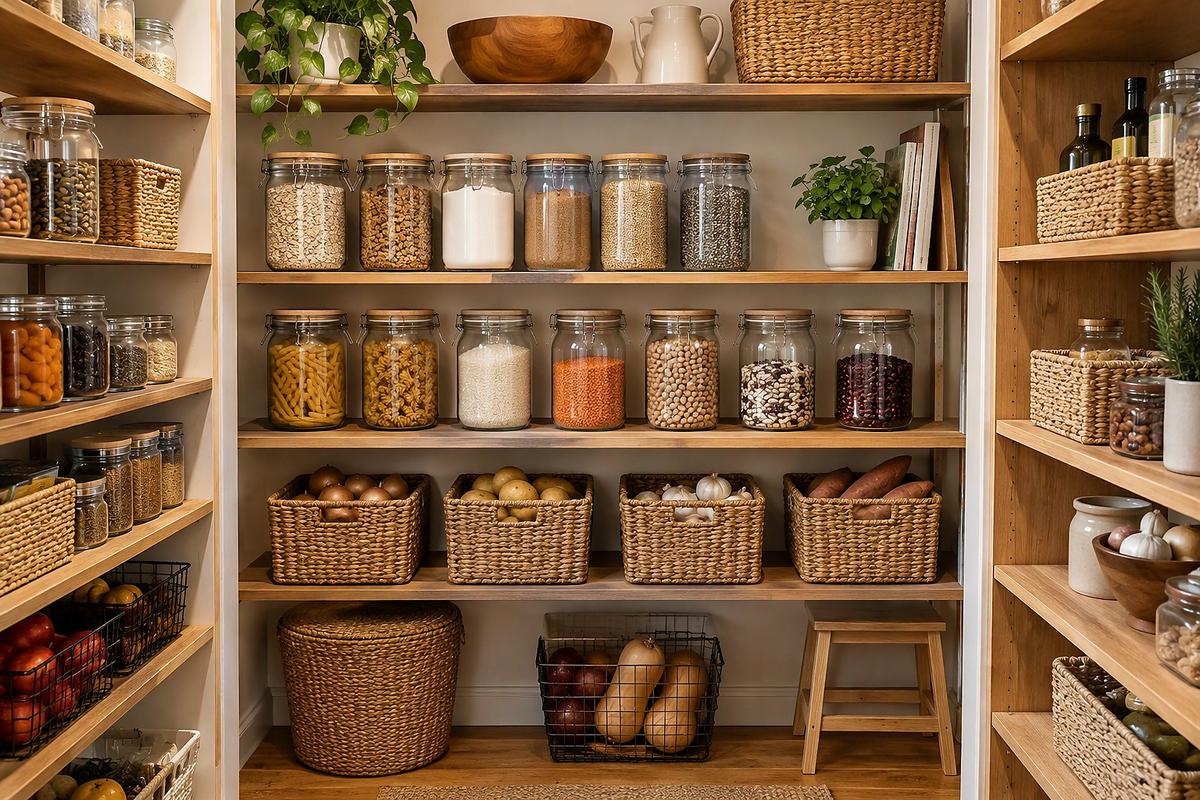
    Organised pantry with jars and baskets

    Step 2: Give forgotten containers a second job

    • Use an unused suitcase for seasonal clothing, spare bedding or travel accessories.
    • Use a sturdy cardboard box for lightweight supplies or items awaiting donation.
    • Use a clean glass jar for buttons, sewing accessories or craft supplies.
    • Use an empty gift box for cards, envelopes or personal accessories.
    • Use a clean fabric bag for reusable shopping bags or fabric awaiting repair.

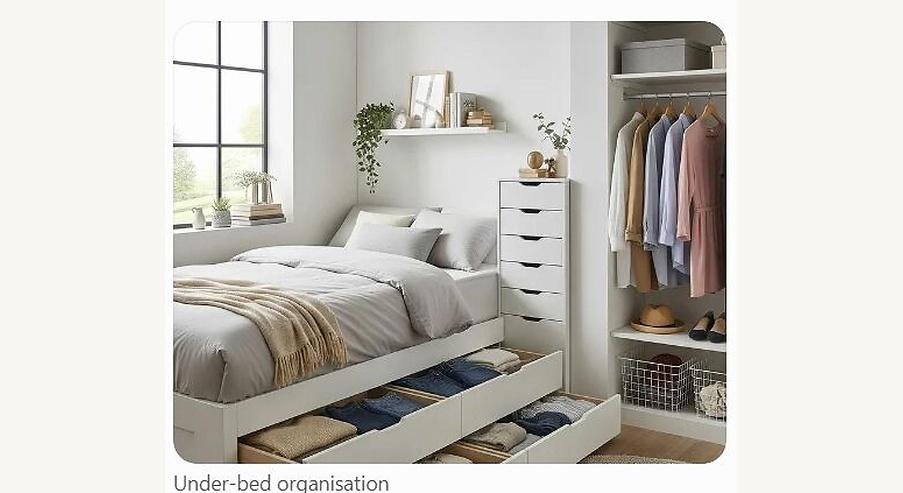
    Containers should be clean, dry, structurally sound and suitable for the new use. For example, an unused suitcase or low container can create useful under-bed storage. Never reuse packaging that contained hazardous chemicals for household storage.

    Reused containers organising household supplies

    Step 3: Turn old textiles into useful resources

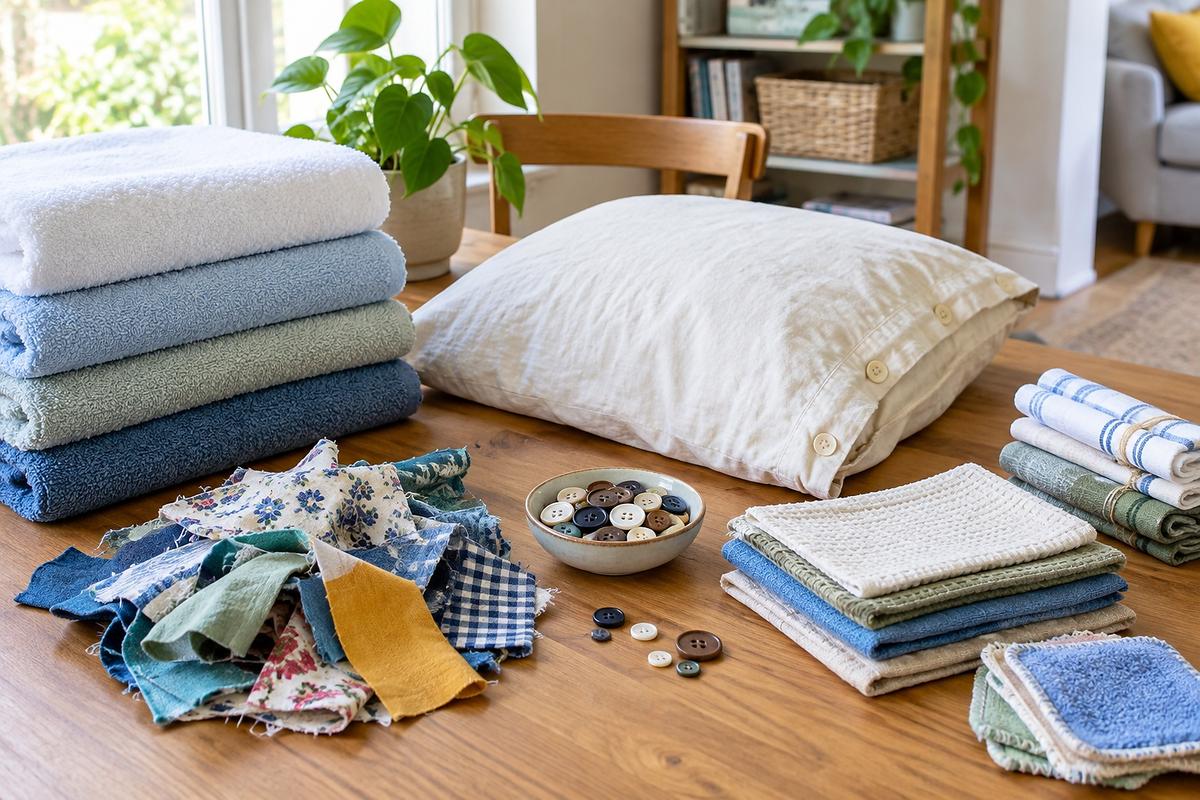
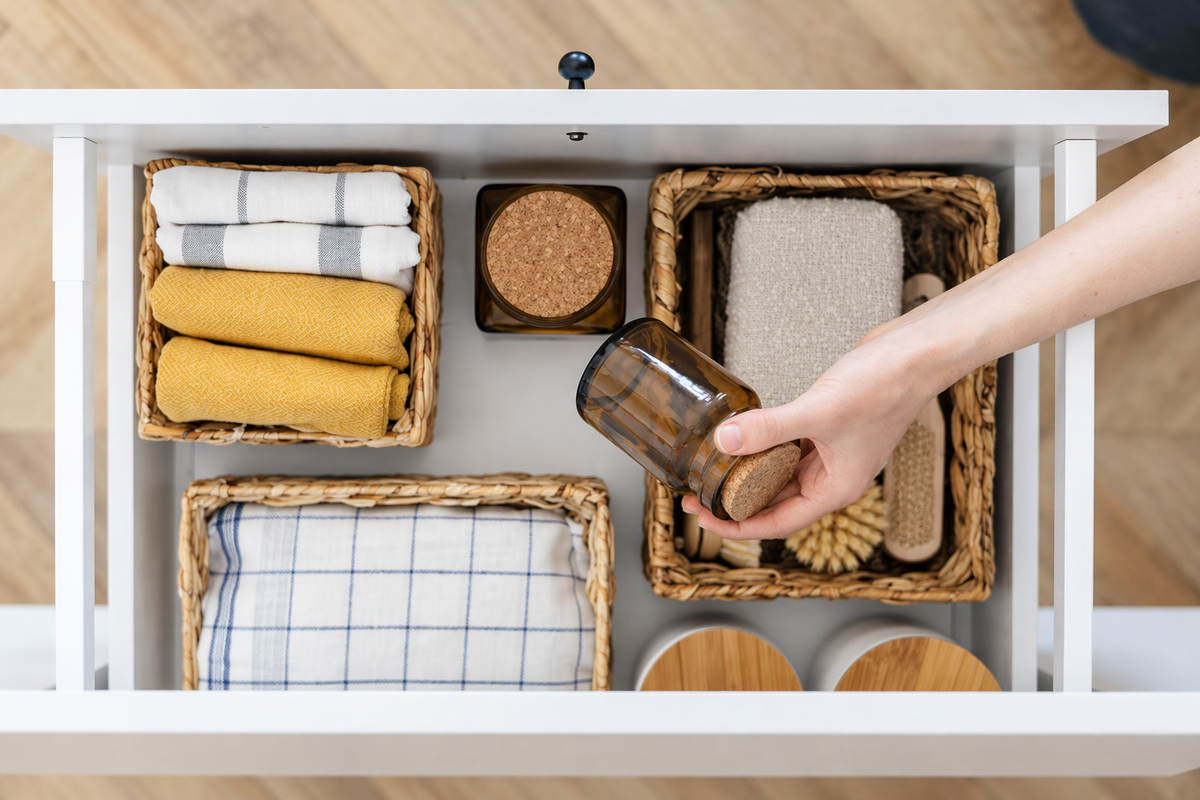
    A worn cotton T-shirt can become a cleaning cloth. An old pillowcase can protect a handbag or store a cushion. Clean fabric remnants can become reusable gift wrap, and a suitable old towel can become a household cloth. Do not keep damaged fabric indefinitely. Use an appropriate textile recycling option where available.

    Folded textiles and reusable cloths

    Step 4: Create a household reuse library

    Designate one small location for reusable ribbons, suitable cardboard, spare buttons, fabric remnants, gift bags, jars and repairable accessories. Set a physical limit, such as one small box. When it is full, use something, donate it or recycle it before adding more.

    Step 5: Organise by activity rather than object

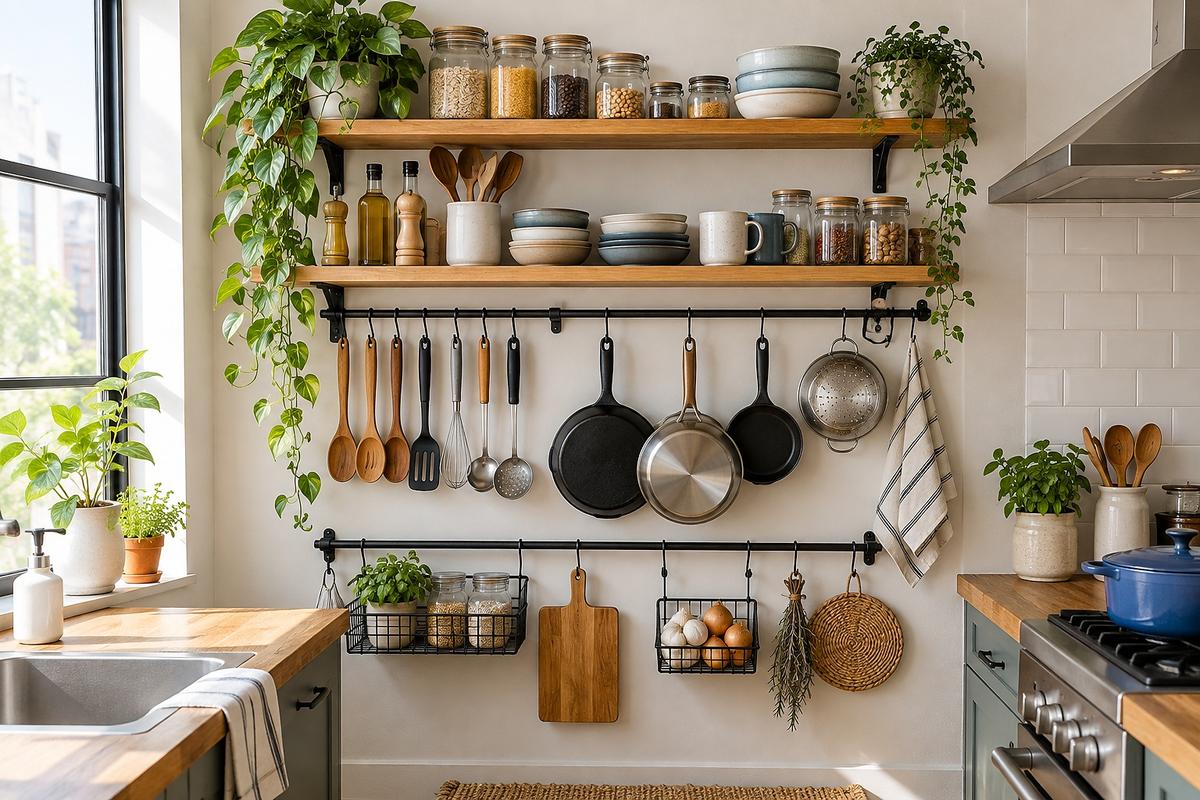
    Bring supplies together according to the task they support. Create a household repair kit, gift preparation kit, paperwork station or plant-care station. This reduces searching and prevents duplicate purchases.

    Kitchen wall storage

    Step 6: Introduce a 48-hour purchase pause

    Before buying an organisation product, wait 48 hours. Identify the exact problem, look for something you already own, measure the space and decide whether the purchase is still worthwhile.

    Step 7: Make the home easier to maintain

    Return shared items to their locations, keep frequent-use supplies accessible, review the reuse box, repair suitable items and rehome belongings that no longer serve a purpose. Hidden storage zones, such as under-bed containers or high shelves, can keep useful items accessible without crowding everyday surfaces.

    The five-day no-buy reset

    1. Audit one room and identify unused items.
    2. Redistribute containers and household accessories.
    3. Repurpose suitable textiles and packaging.
    4. Create a reuse library and repair station.
    5. Identify purchases you can avoid and establish a maintenance routine.

    Common mistakes to avoid

    • Keeping every container because it might be useful someday.
    • Repurposing materials that are unhygienic or unsafe.
    • Replacing clutter with reusable clutter.
    • Spending money on a supposedly no-buy project.
    • Keeping items with no realistic future use.

    Frequently asked questions

    Can I organise my home without buying storage products?

    Yes. Reassigning existing containers, furniture and household materials can solve many everyday organisation problems.

    What can I reuse for storage?

    Suitable jars, boxes, suitcases, fabric bags and gift boxes can be useful, depending on their condition and previous use.

    How do I prevent reuse supplies becoming clutter?

    Set a physical storage limit, review contents regularly and keep only materials with a realistic purpose.

    A beautiful home does not have to be built through constant shopping. Sometimes the solution is already sitting in a cupboard, waiting for a second chance.

  • The Forgotten Spaces in Your Home: 12 Clever Ways to Use Awkward Corners and Empty Gaps

    The Forgotten Spaces in Your Home: 12 Clever Ways to Use Awkward Corners and Empty Gaps

    Have you ever bought something to solve a storage problem, only to discover that you have nowhere to put it? Sometimes the problem is not a lack of storage. It is that we have not noticed the spaces already available to us.

    Look between your furniture, above your doors, at the narrow gaps that collect dust and at the back of a cupboard door. These spaces rarely attract attention, yet some can become surprisingly useful.

    1. The gap between a refrigerator and the wall

    If there is enough clearance, a slim freestanding trolley can hold lightweight kitchen supplies. You might also use the space for a narrow removable holder. Check the manufacturer’s ventilation and clearance requirements first, and never obstruct vents or the appliance door.

    Original Article 1 under-furniture storage image

    2. The back of cupboard doors

    Removable hooks, small organisers or suitable over-door racks can hold measuring spoons, reusable shopping bags and cleaning cloths without using shelf space. Check the door clearance before adding anything.

    Original Article 1 cupboard storage image

    3. The space above interior doors

    Where ceiling height allows, a properly secured shelf can hold lightweight, infrequently used items such as spare cushions, seasonal decorations or reusable gift bags. Keep heavy objects away from overhead storage.

    4. The back of a freestanding bookshelf

    A stable freestanding bookshelf can divide a room into functional areas, such as a sleeping area and a work corner. Use furniture designed to stand independently and secure tall shelving against tipping.

    Original Article 1 storage image

    5. The space underneath furniture

    Shallow containers, suitcases and protective fabric bags may fit beneath beds or sofas. Keep frequently needed items accessible. If retrieval becomes a daily struggle, the arrangement is not working.

    Original Article 1 wall storage image

    6. The inside of a wardrobe door

    Suitable hooks or removable organisers can hold scarves, belts, accessories and garment-care items, freeing the wardrobe rail and reducing the need for another storage unit.

    7. The area beside a washing machine

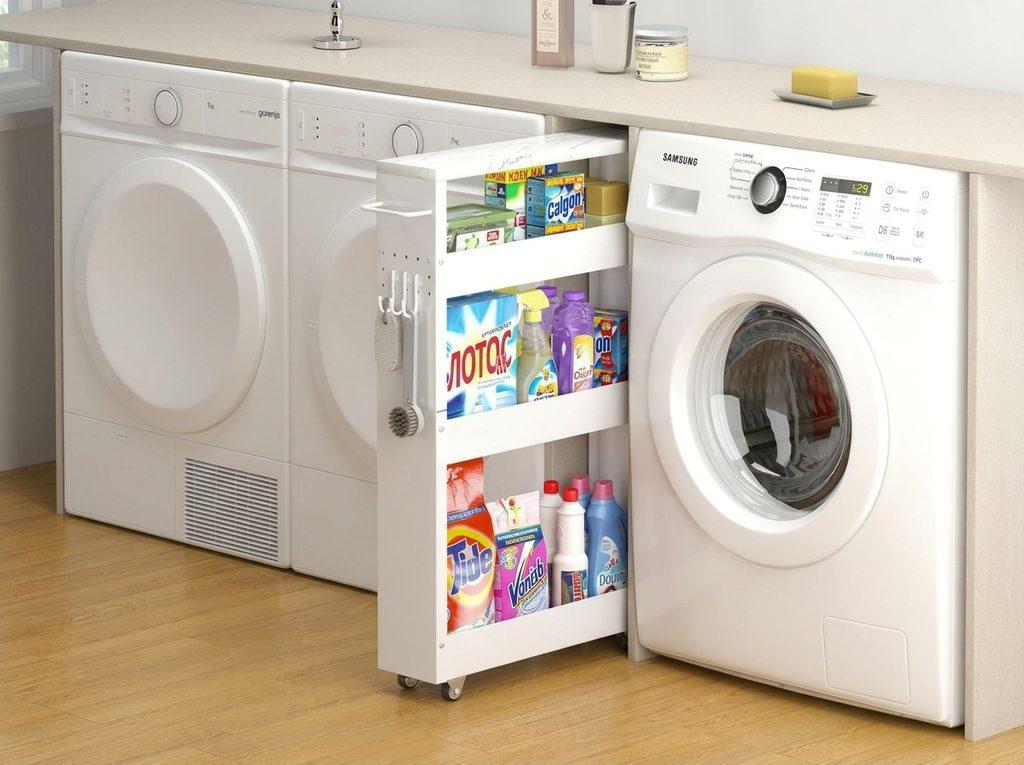
    A slim stable holder may store lightweight laundry accessories, but never interfere with hoses, ventilation, electrical connections or appliance servicing.

    8. The space under a staircase

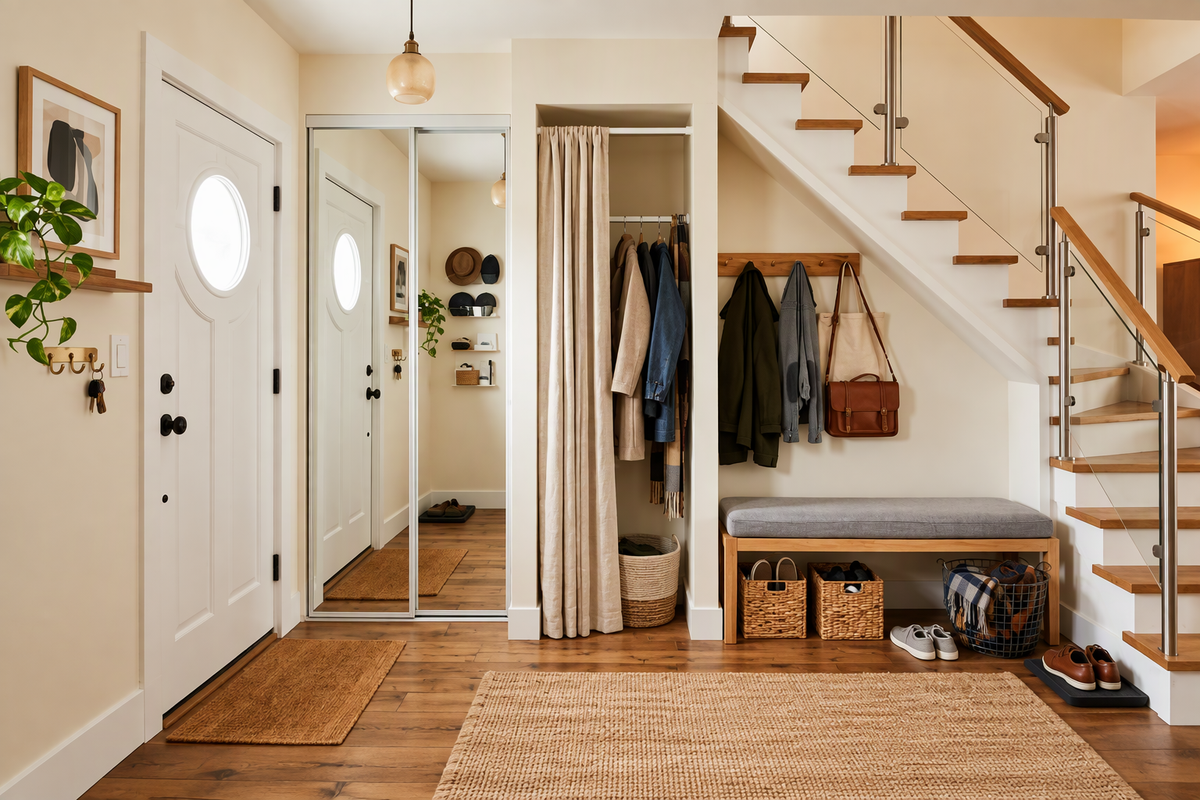
    Depending on its size, this area could become a reading corner, shoe-maintenance station, paperwork area or collection point for reusable bags. Choose the solution that fixes a recurring household problem.

    9. The space behind a room door

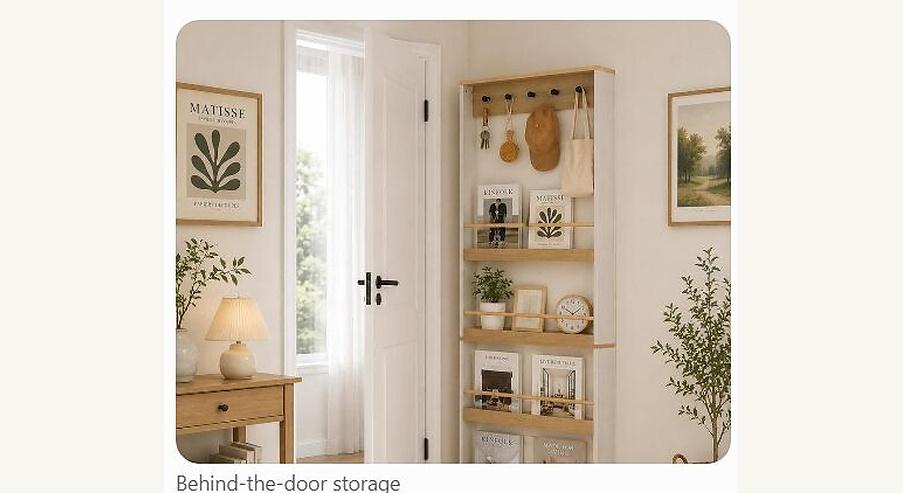
    A small hook or suitable hanging organiser can hold items that otherwise end up on chairs or floors. Check that the door can open fully without damaging the wall or stored objects.

    10. The corners beside beds

    A narrow shelf can hold a book, reading glasses or a small lamp where a conventional bedside table makes movement difficult.

    11. The space around windows

    Carefully selected plants, decorative objects or a narrow shelf can use window areas, provided they do not block light, moisture control or window operation.

    12. The space between two pieces of furniture

    A slim trolley, narrow shelf or existing piece of furniture may fit an unused gap. Measure the width, depth and height twice before buying anything.

    The overlooked-space audit

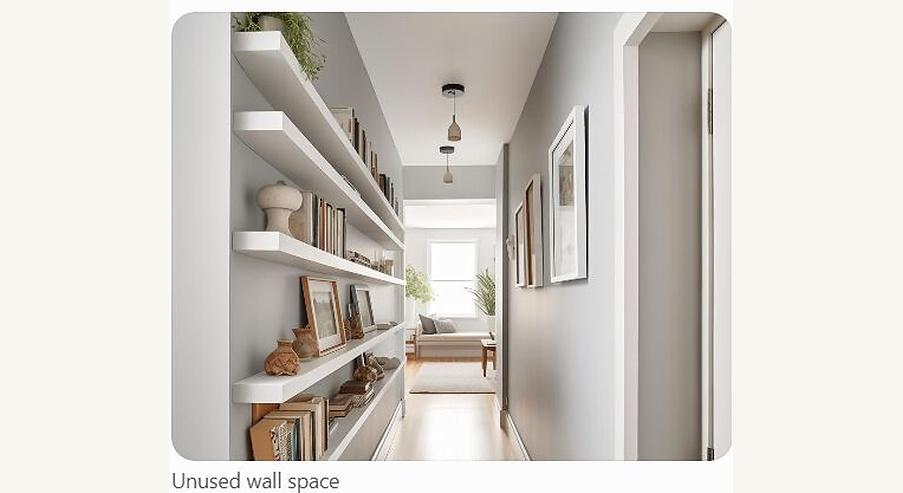
    Choose one room and identify five spaces that currently serve no purpose. Ask what regularly creates clutter, whether the space could solve it, whether you can reuse something you already own, and whether access and safety would remain practical. Choose one improvement to implement.

    Common mistakes to avoid

    • Filling every empty space simply because it exists.
    • Blocking ventilation around appliances.
    • Installing unsecured overhead shelves.
    • Storing heavy objects above frequently occupied areas.
    • Buying organisers before measuring.
    • Creating storage that makes everyday items harder to reach.

    Frequently asked questions

    How can I create more storage without buying furniture?

    Start with cupboards, furniture backs, wardrobe doors and suitable under-furniture spaces. Reassigning existing household items can create useful storage without new purchases.

    What are the best ideas for awkward spaces?

    Slim furniture, removable hooks, properly installed shelves and repurposed containers can help, depending on the dimensions and purpose of the space.

    How do I make a small apartment feel less crowded?

    Reduce unnecessary items, keep frequently used belongings accessible and avoid filling every surface with storage.

    Should I buy organisers before reorganising?

    No. Assess what you own, measure available spaces and identify the specific problem first.

    The most useful space in your home might be the one you have walked past every day without noticing. Before buying another cupboard, take a fresh look around.

  • Small Laundry Room Organization Ideas for Apartments and Rentals

    Small Laundry Room Organization Ideas for Apartments and Rentals

    Whether your laundry lives in a closet, a hallway nook or a corner of the kitchen, a few smart additions can make it feel twice as big. These small laundry room organization ideas are renter-friendly: no drilling, nothing permanent, and most of it can move with you.

    Start with a 5-minute measurement

    Measure the width, depth and height of your space, the gap beside the machines, and the room above them. Note how far the door swings. Most products below come in several sizes, so these numbers save you returns.

    1. Use the space above the washer and dryer

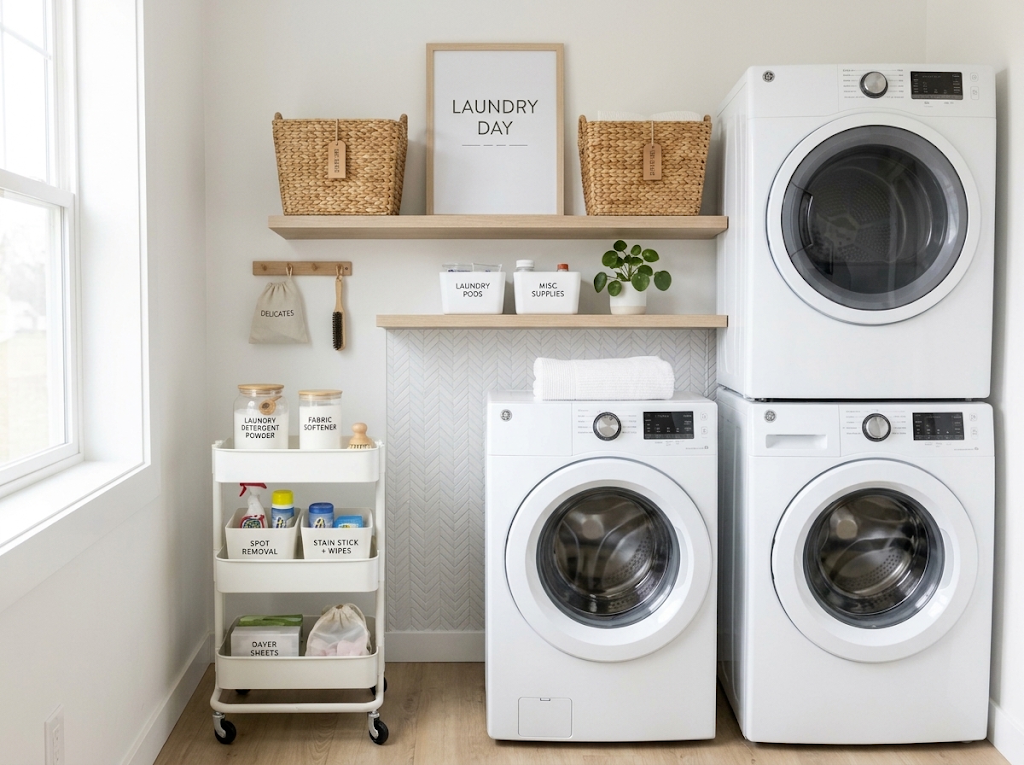
    A freestanding shelf unit that straddles the machines, or a tall unit beside them, claims height you are currently wasting. Look for adjustable shelves and a sturdy base and check the weight limit before loading it with detergent jugs.

    2. Hang an over-the-door rack

    The back of the laundry door is free storage. Use it for spray bottles, dryer sheets, lint brushes and an iron. Measure your door thickness first, and check the door still closes.

    3. Slide a rolling cart into the gap

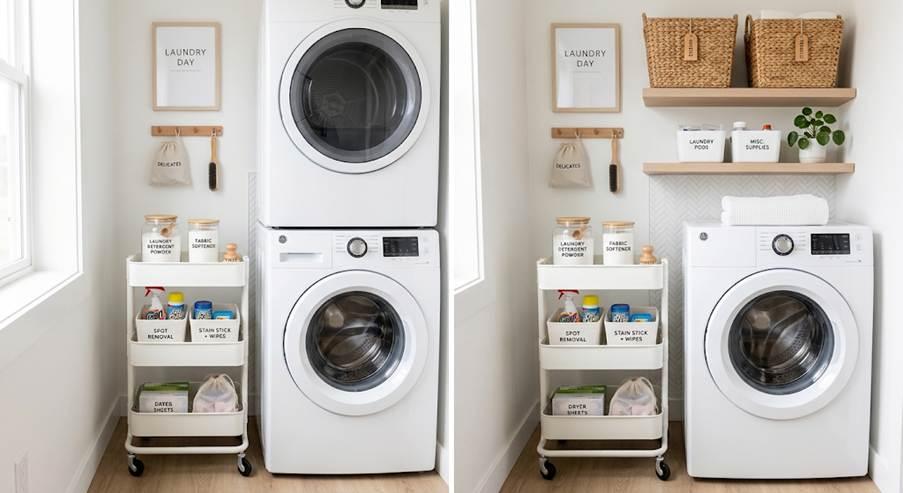
    A slim rolling cart fits the narrow space beside a machine and holds detergent, softener and stain removers. Pull it out when you need it and tuck it back after. Measure the gap and pick a cart narrower than it.

    4. Group everything into labeled bins

    Bins turn a pile of supplies into a system. Use one for stain treatment, one for dryer extras and one for things that belong elsewhere. Clear or open-front bins show you what you have at a glance.

    5. Build a small detergent station

    Put detergent, softener and a scoop on a tray so everything lifts out together and drips stay contained. If you decant into pump bottles, label them so you never mix products up.

    Keep laundry products in their original containers where possible, or use clearly labelled containers, and store them securely away from children and pets.

    6. Add a drying solution that folds away

    A collapsible drying rack or a tension rod across the space gives delicates somewhere to dry without taking over the room. Pick one that folds flat when it is not in use.

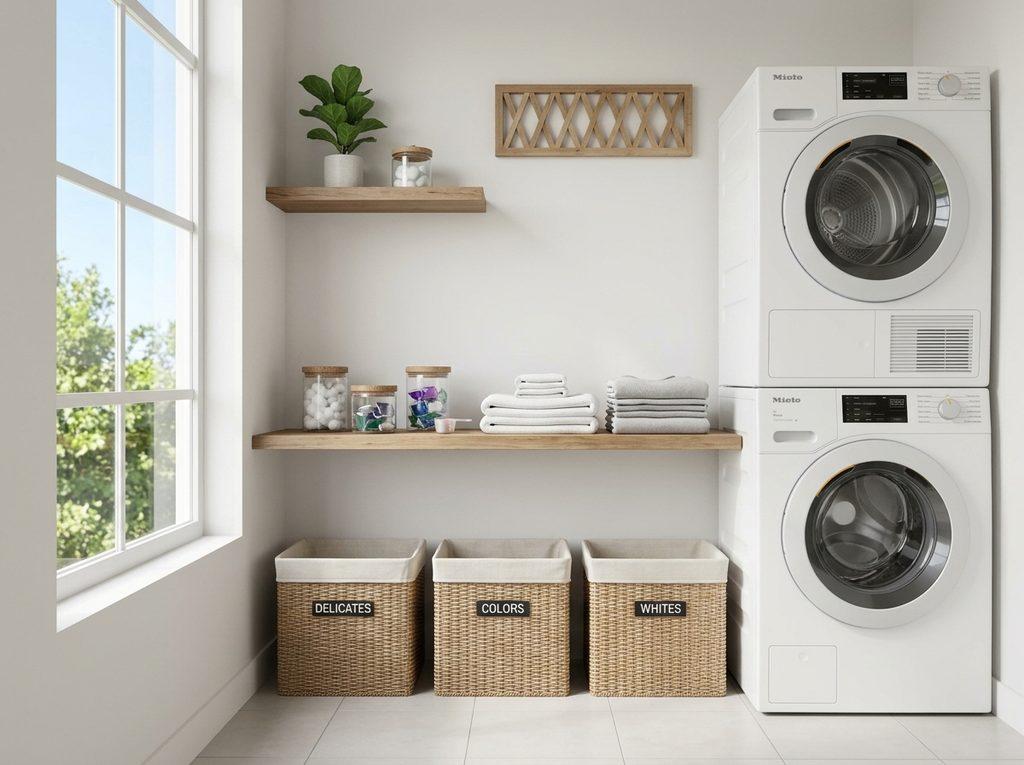
    7. Use a sort-as-you-go hamper

    A two or three-section hamper means laundry is already sorted when you carry it in. In a tight space, a slim rolling hamper tucks beside the machines.

    8. Hide the clutter

    If your machines live in a closet or kitchen alcove, a tension-rod curtain, folding screen or a few baskets keep the mess out of sight. Choose washable fabric.

    9. Keep a small trash bin and a lint spot

    A tiny bin for lint and dryer sheets prevents the mess spreading. Clear the dryer lint trap after every load and check your dryer manual for vent-cleaning guidance.

    10. Add a lost-sock basket

    One small basket for odd socks and found items stops them from piling on top of the machines. Empty it once a month.

    A Simple Weekly Laundry Schedule

    If you want to go further, make this schedule:

    • Monday: towels
    • Tuesday: sheets
    • Wednesday: dark colors
    • Thursday: lights
    • Friday: delicates and gym clothes
    • Weekend: catch-up and reset

    Adjust it to your household. One or two loads a day is easier than one giant laundry day.

    Budget guide

    Start with the cheapest changes that give you the most space: bins, an over-the-door rack and a tray. Add a shelf unit or rolling cart once you have measured. Splurge only on pieces that will fit your next place too.

    Frequently asked questions

    How do I organize a small laundry closet? Use the door, the wall above the machines and slim vertical storage, and contain supplies in labeled bins.

    How can renters add laundry storage without drilling? Use freestanding shelves, over-the-door racks, tension rods and rolling carts.

    What should I keep in a laundry room? Only what you use there: detergent, softener, stain treatment, dryer sheets and a few tools. Move everything else elsewhere.

    Final thought

    You do not need a bigger laundry room, just a better-organized one. Start with one idea from this list and build from there.